You’re staring at the cold, sad container of last night’s pasta, dreading the inevitable: a minute on high, a quick stir, another minute, and the discovery of a lava-hot rim surrounding a frozen-solid center. It feels like a waste—of your time, your energy, and a perfectly good meal. This frustrating cycle isn’t a fact of microwave life; it’s a sign that you’re missing a system. True microwave cooking efficiency isn’t about luck or guesswork; it’s a learnable protocol that transforms this humble appliance from a reheating box into a genuinely effective cooking tool. This guide is that system—a practical, step-by-step playbook designed to help you cook everyday meals faster, save energy, and get consistently better results by understanding the simple rules your microwave actually follows.
The most efficient microwave cooking follows a simple protocol: choose microwave-friendly foods, use medium power for even cooking, arrange items in a ring, and always cover with a vented lid. This method saves energy and prevents soggy or uneven results. By mastering this system of smart food selection, strategic arrangement, and controlled power, you turn random button-pressing into a reliable cooking process. This is your foundational microwave cooking efficiency guide.
The Core Protocol: Your 7-Step Efficiency Playbook
Forget random button-mashing. Efficient microwave cooking is a system. This is your foundational protocol—a repeatable playbook that ensures speed, even cooking, and energy savings every time. Master these seven steps, and you’ll transform your appliance from a reheating box into a legitimate cooking tool.

Step 1: Choose Right
Not all foods are created equal for the microwave. Focus on items with high water content (vegetables, fish, pasta) or those that just need gentle reheating. Dense, dry items like a whole roast or bread are less ideal and will highlight the microwave’s limitations.
Step 2: Prep Smart
Uniformity is key. Cut vegetables into similar-sized pieces. Pierce skins (like on potatoes or sausages) to prevent steam explosions. For even reheating, spread food in a single layer. A little prep prevents a lot of frustration.
Step 3: Power Down
This is the most overlooked step. High power (100%) is for boiling water. For cooking or reheating most foods, 70% power is your sweet spot. It allows heat to penetrate evenly without overcooking the edges while the center is still cold. This is the heart of efficient microwave use.
Step 4: Arrange in a Ring
Microwave energy enters from the sides. Place food in a circle around the outer edge of a plate or turntable, leaving the center empty. This simple trick eliminates cold spots and is a core microwave cooking tip.
Step 5: Cover & Vent
Always cover your food with a microwave-safe lid, plate, or vented plastic wrap. This traps steam, which cooks food faster and more evenly, while also keeping your microwave clean. Always leave a vent for steam to escape to prevent soggy food or a messy explosion.
Step 6: Cook in Bursts
Set a conservative time, then stop, stir (or rearrange), and check. It’s better to add 30 seconds than to overcook. This “pulse and check” method gives you control and perfect results.
Step 7: Let it Rest
When the timer beeps, your food isn’t done. Let it stand, covered, for 1-2 minutes. Residual heat continues to cook and equalize the temperature throughout the dish, finishing the job without using more electricity.
Everyday Meal Scenarios: Applying the Protocol
Now, let’s apply the 7-step system to the meals you actually make. This is where efficient microwave meal prep becomes real. Here’s how to adjust the core protocol for common tasks.
Reheating Leftovers
Protocol Focus: Steps 2 (spread in a layer), 3 (use 50-70% power), 4 (ring arrangement), and 6 (cook in bursts). Sprinkle a few drops of water on drier items like rice or pasta before covering to reintroduce steam. This prevents that tough, dried-out texture.
Cooking Vegetables
Protocol Focus: Steps 1 (perfect for high-water veggies), 2 (uniform cuts), 5 (cover tightly to steam). For example, for a cup of broccoli florets: place in a bowl, add a tablespoon of water, cover with a vented lid, and cook on 70% power for 2.5-3 minutes. Let stand (Step 7) before seasoning.
Preparing Proteins (Fish, Chicken)
Protocol Focus: Steps 3 (crucial! Use 50-60% power), 5 (cover to steam), 7 (rest is non-negotiable). Place a salmon fillet or chicken breast in a shallow dish, add a splash of broth or lemon juice, cover, and cook on medium power. The lower, slower heat cooks it through gently without turning the edges rubbery.
Cooking Pasta, Rice, and Grains
Yes, you can cook these from dry in the microwave. Use a deep, microwave-safe bowl with plenty of water (it can boil over easily). Follow package times but use 70-80% power and stir during the longer cooking bursts (Step 6). It’s a fantastic way to save energy with microwave cooking compared to boiling a full pot on the stove.
Essential Dos and Don’ts for Peak Performance
Beyond the protocol, these best practices and pitfalls will lock in your efficiency gains. Treat the “Don’ts” as energy and quality killers.
DO:
- Use microwave-safe containers: Glass, ceramic, and designated plastics only. Avoid metal trim or foil.
- Stir or rearrange food halfway through cooking, especially for soups and sauces.
- Clean your microwave regularly. Splattered food absorbs energy, making the appliance work harder and longer.
- Group tasks. If you’re steaming vegetables, consider cooking your grain at the same time to use the energy once.
DON’T:
- Assume “High” is always best. As per Step 3, medium power is your friend for quality results.
- Cook eggs in their shell or sealed containers (like a whole potato without piercing). Pressure builds and they can explode.
- Use plastic containers not labeled “microwave-safe.” They can warp or leach chemicals into your food.
- Overcrowd the plate. Stacking food creates cold zones and uneven cooking, violating the principle of Step 4.
Advanced Tactics for the Efficiency Pro
Once the 7-step protocol is second nature, these next-level techniques can further optimize your time and energy use.
Leverage Sensor Cook Features
If your microwave has humidity or temperature sensors, use them for reheating plates of food or cooking vegetables. The sensor automatically adjusts time and power, taking the guesswork out and often using less energy than a manual, overly-long timer setting. Consult your manual to understand your model’s specific functions.
Create Steam Pockets with Parchment
For delicate fish or chicken, try the “parchment pouch” method. Place the protein and aromatics (herbs, lemon slices) on a sheet of parchment paper, fold and crimp the edges tightly to create a sealed packet, and microwave on medium power. The packet creates an intense steam environment that cooks food incredibly evenly and keeps it moist.
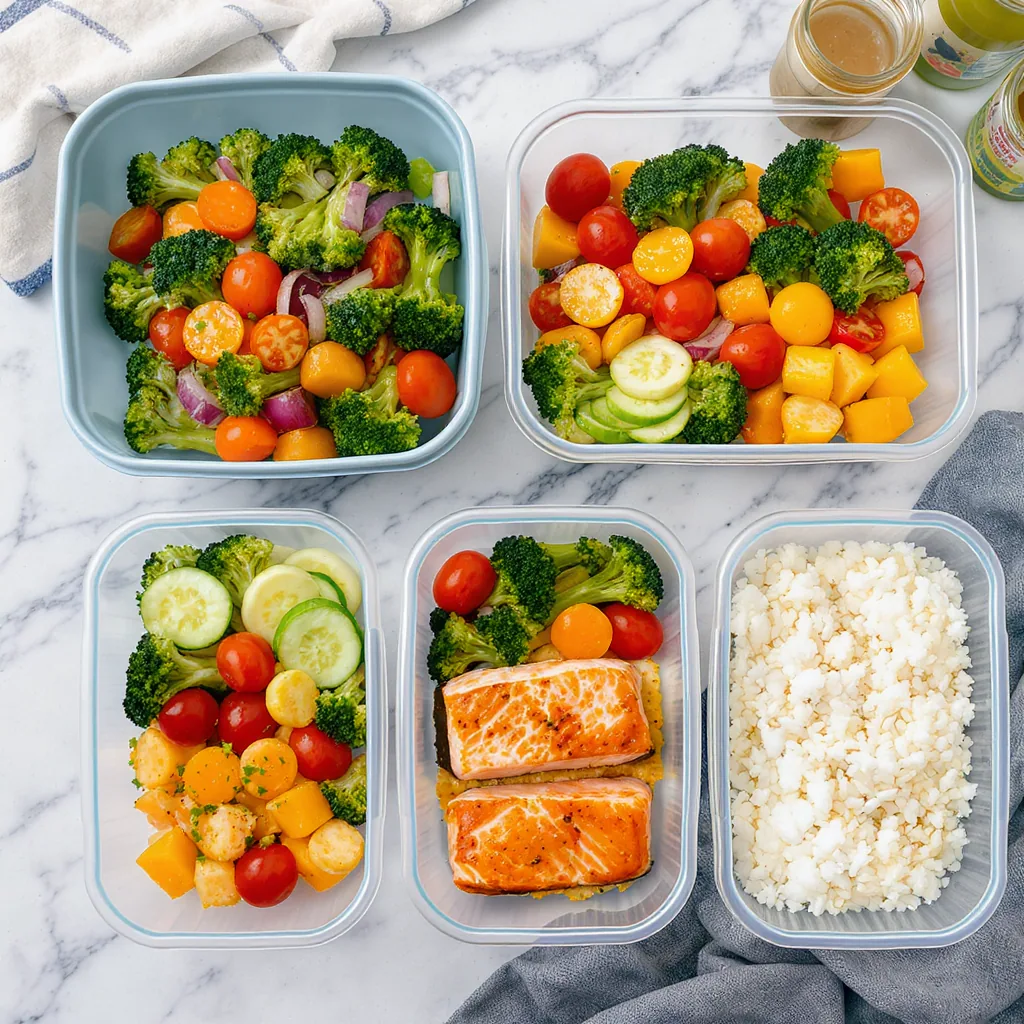
Batch Prep for the Week
The ultimate application for saving energy with microwave cooking is batch cooking grains, roasted vegetables, or proteins on the weekend. Portion them into microwave-safe containers. During the week, you’re just reheating single servings quickly and efficiently, avoiding daily use of the oven or stove. This strategy turns your microwave into the cornerstone of a streamlined kitchen.
Troubleshooting Common Microwave Woes
Even with a good system, problems pop up. Here’s how to diagnose and fix them using the principles you’ve already learned.
Problem: Soggy Bottoms
Cause & Fix: This is usually a condensation issue, violating the spirit of Step 5 (Cover & Vent). Excess water pools at the bottom. The fix? Use a microwave-safe rack to elevate food out of any drips, or place a paper towel under items like reheated pizza to absorb moisture.
Problem: Stubborn Cold Spots
Cause & Fix: You’ve likely skipped Step 4 (Arrange in a Ring) or Step 6 (Cook in Bursts). Food piled in the center or not stirred will have cold areas. Redistribute food into a ring shape and always stir or rearrange midway through cooking.
Problem: Exploding Foods
Cause & Fix: This is a Step 2 (Prep Smart) failure. Foods with skins or membranes (eggs, potatoes, sausages) trap steam. Always pierce them several times with a fork before cooking to give steam an escape route.
Problem: Unevenly Cooked Vegetables
Cause & Fix: This points to Step 2 (uniform cuts) and Step 3 (power level). If your broccoli stems are raw while florets are mushy, you didn’t cut them to similar sizes. For mixed veggies, start denser items (carrots) first, then add quicker-cooking ones (peas) later. Using medium power also helps heat penetrate more evenly.
Your Kitchen, Now More Efficient
Efficiency isn’t a mystery or a lucky accident—it’s a skill built on a reliable system. By adopting this 7-step protocol, you’ve moved beyond just “nuking” food to cooking with intention. You’re not only saving precious minutes on busy weeknights but also actively choosing a method that uses less energy than your oven or stovetop for many tasks. Start small tomorrow: choose one meal, apply the steps, and notice the difference in texture, temperature, and time. That small win is the foundation of a more streamlined, capable kitchen where your microwave finally works for you, not the other way around.
Mastering microwave efficiency boils down to a simple, powerful system: the 7-Step Protocol. Remember to choose microwave-friendly foods, use medium power (70% is ideal) for even cooking, arrange items in a ring, and always cover with a vent. Applying this system to everyday meals—from reheating leftovers to cooking vegetables and proteins—saves significant time and energy. Avoid common pitfalls like overcrowding and always let food rest after cooking. Start your journey to better meals and lower energy use by implementing just Step 3 (Power Down) in your next cooking session.