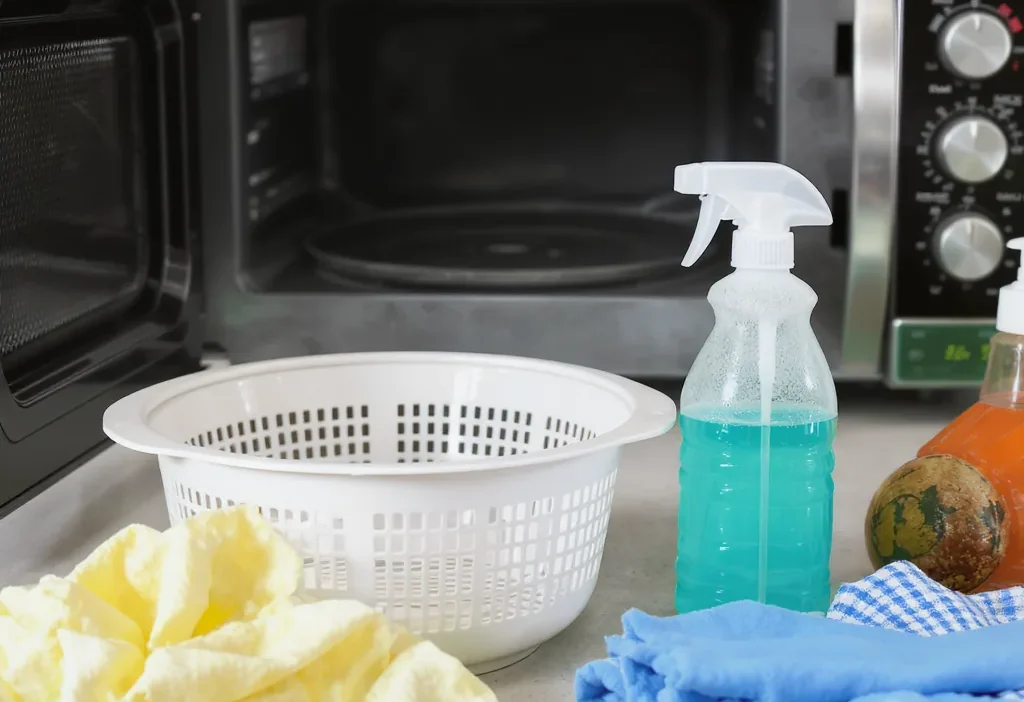
You’ve just finished a delicious meal, but the cleanup feels like a second job. A crusty air fryer basket with stubborn grease, a microwave interior splattered with yesterday’s sauce, and oven racks coated in baked-on grime—these are the universal kitchen frustrations that can turn a quick tidy into a lengthy, ineffective scrub session. The problem isn’t a lack of effort; it’s that using the wrong method on the wrong material wastes time and can even damage your appliances. This guide cuts through the confusion, offering a clear, methodical breakdown for efficient cleaning of your air fryer basket, microwave interior, and oven racks. We’ll focus on what truly works for each specific component, saving you time and preserving your appliances, so you can get back to cooking with confidence.
For efficient cleaning, match the method to the mess and material: soak air fryer baskets, steam-clean microwave interiors, and use a dedicated degreaser or the oven’s self-clean cycle (with precautions) for oven racks. Avoid abrasive tools and harsh chemicals that can damage surfaces. This targeted approach, part of a solid kitchen appliance maintenance routine, ensures each component gets clean quickly without compromising its function or coating.
The Air Fryer Basket: Conquering Stuck-On Grease and Residue
Your air fryer basket is a hero for crispy food, but that non-stick coating is delicate. The key to effective cleaning techniques here is patience and gentleness, not elbow grease. Abrasive scrubbers or harsh dishwasher pods will ruin the coating, making future messes stick even worse. A proper kitchen appliance maintenance routine for your basket involves two tiers: a quick post-cooking wipe and a weekly deep soak.
The Deep-Clean Protocol
When grease and crumbs have baked on, follow this method:
- Soak Immediately: Fill your sink or a large basin with hot water and a squirt of mild dish soap. Submerge the basket and let it soak for 15-30 minutes. This loosens everything.
- Use Gentle Tools: After soaking, use a soft sponge, nylon brush, or even a used dryer sheet (its slight abrasiveness is perfect for non-stick) to wipe away residue.
- For Tough Spots: Make a paste of baking soda and a little water. Apply it to stubborn areas, let it sit for 10 minutes, then gently scrub with your soft sponge.
- Rinse & Dry Thoroughly: Rinse with warm water and dry completely with a towel before reassembling. This prevents rust and maintains appliance cleaning and cooking efficiency.
Remember, the dishwasher is a common culprit for damaging these coatings. Hand-washing might take an extra minute, but it preserves your appliance for years.
The Microwave Interior: From Splatters to Sparkle Without Scrubbing
Scrubbing dried-on spaghetti sauce from microwave walls is a tedious chore. The most efficient cleaning method here uses steam to do the hard work for you. This approach is safe, chemical-free, and prevents damage to the interior surface.
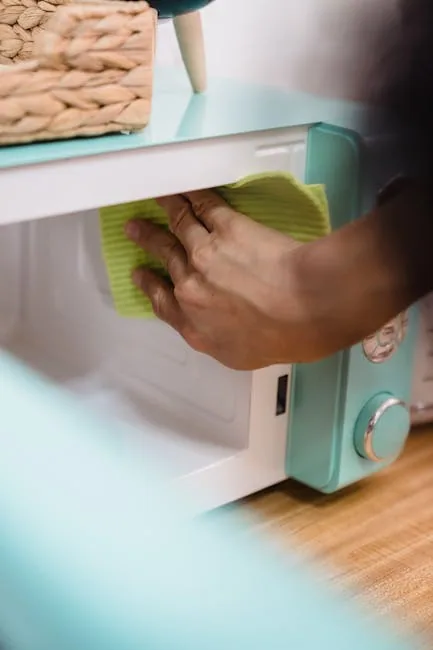
Photo by Liliana Drew on Pexels
The Steam-Cleaning Method
This protocol turns a grimy microwave interior clean in under 10 minutes with minimal effort:
- Create Steam: Fill a microwave-safe bowl with 1-2 cups of water. For extra cleaning power and a fresh scent, add a few tablespoons of white vinegar or the juice of half a lemon.
- Heat It Up: Place the bowl in the center of the microwave and run it on high for 3-5 minutes, or until the window is very steamy and the water is boiling. Let the microwave sit with the door closed for another 5 minutes. This crucial waiting period lets the steam condense and soften all the splatters.
- Wipe Down: Carefully remove the hot bowl. The interior walls and ceiling will be damp. Simply wipe everything down with a damp microfiber cloth or sponge. The grime should slide off effortlessly.
- Final Pass: For any remaining spots, a little extra elbow grease with the cloth is usually enough. Give the glass turntable a wash in the sink.
Avoid using harsh chemical sprays inside your microwave. They can leave behind fumes that affect the taste of your food and aren’t necessary when steam works so well. This simple step is a cornerstone of a good kitchen appliance maintenance routine.
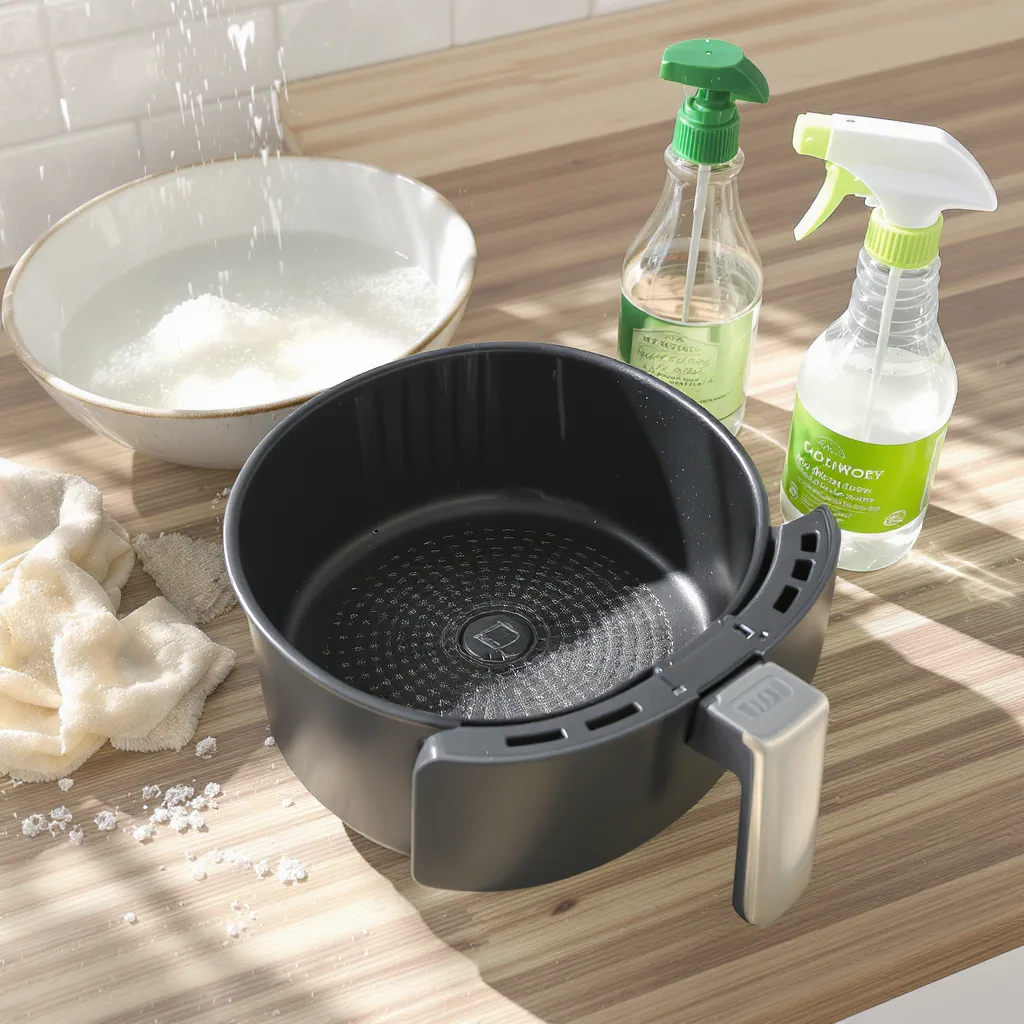
Oven Racks: Tackling Baked-On Grease and Carbon
Oven racks present the toughest challenge: layers of polymerized grease and carbon that have been hardened by high heat. Your oven rack cleaning methods need to match the level of grime. For routine maintenance, wiping racks while still warm (but cool enough to touch) after use can prevent major buildup. For a deep clean, you have a few effective options.
Method 1: The Degreaser Soak (Most Controlled)
This is the safest method for all rack types, especially those with plastic end caps or guides.
- Lay an old towel or trash bag in your bathtub or a large storage bin.
- Place the racks inside and cover them with the hottest water your tap can produce.
- Add a heavy-duty degreaser, a cup of dishwasher detergent (the kind for machines), or a cup of ammonia. Caution: Do not mix ammonia with other chemicals.
- Let the racks soak for several hours or overnight. The grease will lift away.
- Scrub with a scouring pad, rinse, and dry.
Method 2: The Self-Cleaning Cycle (With Precautions)
Many ovens have a self-cleaning function that incinerates debris at extremely high temperatures. You can place the racks inside during this cycle, but only if they have no plastic, nylon, or rubber parts, as these will melt.
Important Note: The self-clean cycle can sometimes cause racks to discolor or develop a whitish, chalky film. This is usually harmless and doesn’t affect function, but it can be removed with a vinegar rinse. Always ensure your kitchen is well-ventilated during this process.
What Doesn’t Work: Common Cleaning Pitfalls to Avoid
Knowing what not to do is just as important as knowing the right protocol. These common mistakes can waste your time or, worse, permanently damage your appliances.
- Don’t use abrasive scrubbers on non-stick surfaces. Steel wool, harsh scouring pads, and even some stiff brushes will scratch the coating on your air fryer basket. Once scratched, food will stick relentlessly, ruining its cooking efficiency.
- Don’t use oven cleaner on anything but the oven. The powerful chemicals in oven cleaner sprays are too harsh for air fryer baskets and microwave interiors. They can degrade surfaces and leave toxic residues.
- Don’t put oven racks with plastic parts through the self-clean cycle. This will almost certainly melt the end caps or guides, warping your racks and potentially releasing fumes.
- Don’t use abrasive powders or harsh chemicals in your microwave. Products like comet or bleach can damage the interior finish and are unnecessary. Stick to the steam method for a food-safe clean.
- Don’t skip the drying step. Putting away an air fryer basket or oven rack while damp invites moisture and rust, undermining your entire appliance cleaning effort.
Simplify Your Kitchen Cleanup
Efficient cleaning isn’t about one universal trick; it’s about matching the right, gentle method to each appliance’s specific material and mess. By adopting these protocols—soaking your air fryer basket, steaming your microwave, and choosing the right degreaser for your oven racks—you transform a dreaded chore into a quick, manageable task. This approach saves you time, preserves your investment, and ensures your appliances perform their best every time you cook. The payoff in easier future cleanups and better results is immediate.
Your decisive next step? Tonight, after dinner, pick the one appliance that frustrates you the most—likely the air fryer—and try the soak-and-gentle-scrub method. You’ll see the difference immediately and build momentum for a simpler, more efficient kitchen routine.