Ever wonder why your homemade soup tastes a bit flat, but your pasta turns out mushy? Or why a sauce that should be silky smooth ends up broken and grainy? The culprit is often the same: using the wrong stovetop heat. Mastering the difference between a simmer, a boil, and rapid heat is the invisible ingredient that determines texture, flavor, and even your simmer vs boil energy use on the stovetop. This isn’t just about following a recipe’s vague instruction to “cook over low heat”; it’s about understanding the science of bubbles to make confident, efficient choices for everything from a perfect poached egg to a deeply flavored stew.
Here’s how to choose the right stovetop heat: A boil (212°F/100°C, with large, rolling bubbles) is for pasta and blanching. A simmer (185–205°F/85–96°C, with small, gentle bubbles) is ideal for soups, stews, and sauces to develop flavor without breaking ingredients. Rapid heat (full blast) is for bringing large volumes of water to a boil quickly. Matching heat to the task saves energy and guarantees better results.
The Science of Bubbles: Defining Simmer, Boil, and Rapid Heat
Understanding the difference between simmer, boil, and rapid heat starts with watching the bubbles. Each level represents a specific temperature range and physical process in your pot, which directly impacts your cooking results and your simmer vs boil energy use stovetop.
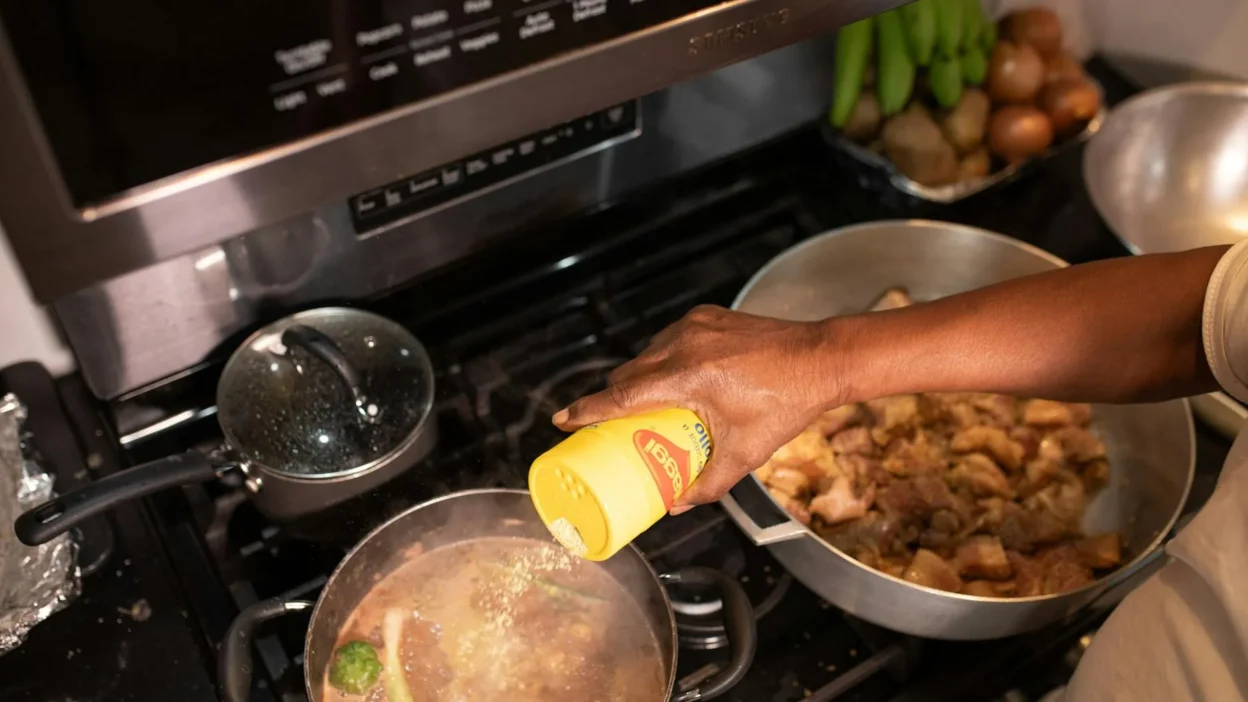
A simmer is a gentle, low-energy cooking state. You’ll see small, lazy bubbles that barely break the surface, typically around 185–205°F (85–96°C). The water is hot, but not violently agitated. This is the workhorse for developing deep flavors without destroying delicate ingredients.
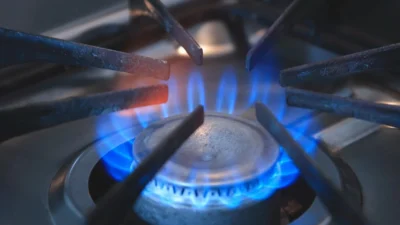
A boil (or rolling boil) is the classic, energetic state where water hits 212°F (100°C) at sea level. Bubbles are large, rapid, and roll continuously across the entire surface, creating a lot of motion. It’s a high-energy state used for cooking ingredients through quickly.
Rapid heat (high heat) isn’t a sustained cooking temperature—it’s a tool. It’s your burner on its highest setting, used to apply maximum energy to quickly bring a large volume of water up to a boil. Once boiling, you almost always reduce the heat.

| Heat Level | Visual Cues | Temperature Range | Best Uses | Energy Use |
|---|---|---|---|---|
| Simmer | Small, gentle bubbles that occasionally break the surface. | 185–205°F (85–96°C) | Soups, stews, braises, reducing sauces, cooking grains gently. | Low |
| Boil | Large, rolling bubbles constantly rising across the entire surface. | 212°F (100°C) | Cooking pasta, blanching vegetables, hard-boiling eggs. | High |
| Rapid Heat | Vigorous steam, water may ripple violently before bubbling. | Above 212°F (to reach boil faster) | Bringing large pots of water to a boil quickly. | Very High (short bursts) |
The Decision Guide: When to Use Which Heat Level
Choosing the right stovetop heat level cooking setting isn’t guesswork—it’s about matching the heat to your culinary goal. Use this simple guide to make the call every time.

If your goal is to develop deep, rich flavor…
Use: SIMMER. Long, slow cooking at a gentle bubble is perfect for stocks, braises, and stews. This low-and-slow approach allows flavors to meld and collagen in tough cuts of meat to break down into gelatin without the protein seizing up and becoming tough. A rolling boil would cloud a stock and make meat stringy.
If your goal is to cook something through quickly…
Use: BOIL. The intense, consistent heat of a rolling boil is ideal for pasta, potatoes, or blanching green vegetables. It cooks food rapidly and evenly, which helps pasta achieve the right texture and vegetables retain a bright color and crisp-tenderness.
If your goal is to reduce a sauce or thicken a soup…
Use: SIMMER. A gentle simmer allows liquid to evaporate gradually, concentrating flavors and thickening the consistency without the risk of scorching or causing a dairy-based sauce to break. A boil would reduce it too fast and likely burn it.
If your goal is to bring a large pot of water to temperature…
Use: RAPID HEAT. Crank the burner to high to get that water boiling as fast as possible. This is a key tactic for efficient boiling and simmering: you use maximum power for a short time to reach your target, then immediately reduce to the appropriate sustained cooking level (like a simmer for oatmeal or a boil for pasta).
Common Mistakes and How to Fix Them
Even experienced cooks can slip up on heat control. Here are the most frequent errors and how to correct them.
Mistake: Boiling when you should simmer. This is the #1 culprit for tough, dry meat in stews and broken, grainy sauces (especially ones with dairy or eggs). The violent agitation overcooks proteins too quickly. Fix: As soon as your liquid reaches a boil, turn the heat down until you see only those small, gentle bubbles. A lid slightly ajar can help maintain this temperature.
Mistake: Simmering when you need a rolling boil. Adding pasta to water that’s merely “hot” or simmering will result in a gummy, mushy mess. The pasta needs the constant, vigorous motion of a true boil to cook properly. Fix: Be patient. Wait until you see large bubbles rolling across the entire surface before adding your ingredients.
Mistake: Leaving the lid off when trying to reach a boil. This wastes a massive amount of energy and time. Heat and steam escape, forcing your burner to work harder and longer. Fix: Always put a lid on the pot when bringing water to a boil. You can reduce heat and partially uncover it once you’ve reached your desired cooking state.
Pro Tips for Better Control and Efficiency
Mastering heat goes beyond knowing the definitions. These practical tips will give you finer control and help you save energy.
Use the “Bring to a Boil, Then Reduce” method. For most recipes that start with a simmer, this is the golden rule. Use high heat to get your liquid to a boil quickly, then immediately dial it back to a simmer. This is far more efficient boiling and simmering than trying to slowly heat a large volume on a medium-low setting from the start.
Choose the right pot for your burner. A small pot on a large burner wastes energy as heat escapes up the sides. Conversely, a large pot on a small burner will take forever to heat. Matching them ensures efficient heat transfer.
Understand your simmer. On some stoves, “Low” might still be too hot for a true simmer. If your gentle bubble looks more like a rapid boil, create a “heat diffuser” by moving the pot slightly off-center on the burner or using a flame tamer. The goal is consistent, gentle activity, not a bubbling cauldron.
Don’t fear the adjustment knob. Your stovetop setting isn’t a “set it and forget it” command. The amount of liquid, the ingredients added, and the pot material all affect temperature. Get in the habit of glancing at your pot every few minutes and making tiny adjustments to maintain the perfect bubble level.
Heat Control: Your Secret Ingredient for Success
Think of your stovetop’s heat settings as your most fundamental cooking tool—more important than any fancy gadget. Mastering the simple difference between a simmer, a boil, and when to use rapid heat prevents a world of culinary disappointments: bland soups, broken sauces, mushy pasta, and tough meat.
It also prevents waste, both of ingredients and energy. By intentionally choosing the right heat level for the task, you cook more effectively and efficiently. The next time you’re at the stove, pause for a second before you turn the knob. Ask yourself what you’re trying to achieve, then choose the heat that matches. Your food (and your utility bill) will thank you.