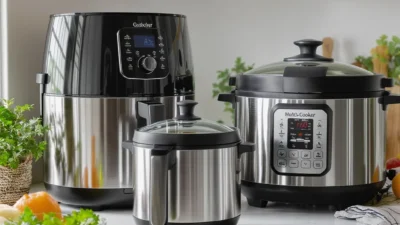
You’ve got your ingredients ready and your pressure cooker is on the counter. But as you go to lock the lid, a flicker of hesitation hits. Did you add enough liquid, or too much? Is that pile of beans too close to the top? And what’s the deal with that ‘Keep Warm’ button—is it just for holding, or can it actually finish the cooking for you? This moment of uncertainty is where meals can go from effortlessly efficient to energy-wasting and uneven. The good news is that consistent, safe, and energy-saving pressure cooking isn’t about guesswork; it’s about following a simple three-part protocol. This checklist focuses on the critical phases of prep, fill level, and residual heat use, transforming your pressure cooker from a simple time-saver into a genuinely intelligent, energy-efficient kitchen tool.
To save energy with a pressure cooker, follow a three-phase checklist: prep ingredients uniformly, never exceed the max fill line (especially for grains and legumes), and plan to use the cooker’s residual heat by letting pressure drop naturally for the last few minutes of cooking. This systematic approach ensures even cooking, prevents safety issues, and leverages the retained heat in the pot to finish the job without using extra electricity or gas, directly reducing your active cooking time and energy use.
Phase 1: The Prep Protocol – Setting the Stage for Efficiency
Think of this phase as your mise en place for pressure. Proper prep isn’t just about convenience; it’s the foundation for even cooking and, by extension, maximizing pressure cooker efficiency. When food is cut uniformly, it cooks at the same rate, preventing a scenario where you have to cook everything to the doneness of the largest chunk—wasting energy and potentially ruining texture. Following a simple pressure cooking prep steps checklist ensures you start on the right foot.
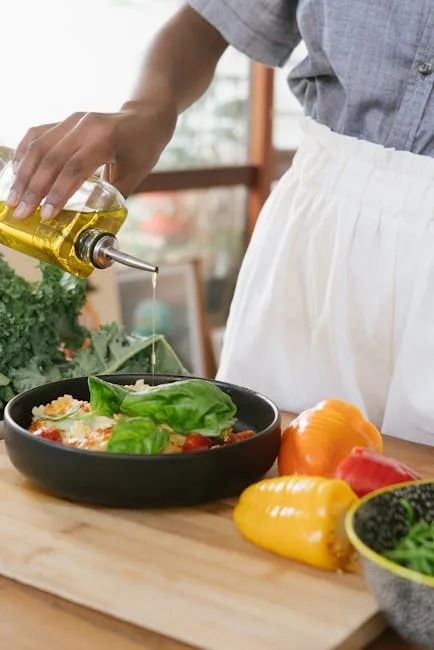
Photo by RF._.studio _ on Pexels
Your pre-pressure protocol has four key points:
- Cut Food Uniformly: Aim for consistent size, especially for dense vegetables like potatoes or carrots. Smaller, uniform pieces cook faster and more evenly.
- Use the Minimum Liquid: Consult your manual, but most models require at least 1 cup (250 ml) of liquid to build steam. Using just enough, not a surplus, means less energy is needed to bring it to a boil and create pressure.
- Deglaze If Needed: If you sautéed aromatics or meat, add a splash of your cooking liquid and scrape the bottom clean. This prevents the “burn” warning on electric models, which interrupts the cycle and wastes time and power.
- Check the Seal and Valve: A quick visual check of the silicone sealing ring (is it seated properly?) and the pressure release valve (is it clear of debris?) prevents steam leaks. A leaky seal means the cooker can’t reach or maintain pressure, leading to extended, ineffective cooking.
Phase 2: The Fill Level Rule – Your Non-Negotiable Safety & Efficiency Guardrail
This is the single most critical rule for both safety and energy savings. The max fill line inside your pot isn’t a suggestion; it’s a hard limit based on physics. Exceeding it, especially with foods that foam or expand, risks clogging the pressure release valve. A clogged valve is a safety hazard and will force you to abort cooking, cool the pot, clean it, and start over—a massive waste of time and energy. Following clear pressure cooker fill level tips is non-negotiable.
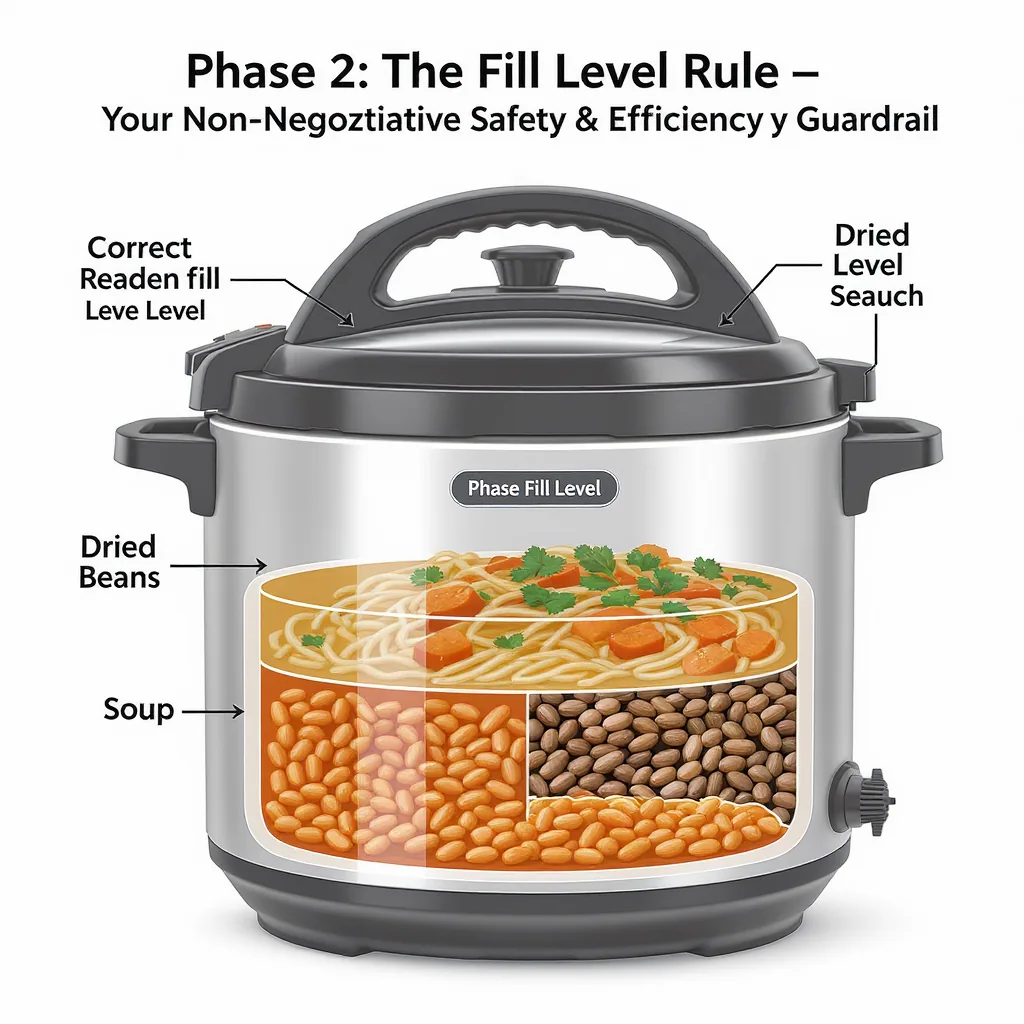
Here’s your simple Do/Don’t guide:
DO: For most soups, broths, and non-foaming foods, you can safely fill to the manufacturer’s indicated maximum line (often 2/3 full).
DON’T: Never exceed the max line, even for watery soups. The space above the food is crucial for building pressure.
DO: For foods that foam, expand, or froth (like dried beans, lentils, grains, pasta, or oatmeal), use a more conservative fill level. A good rule is to fill no more than half the pot’s capacity. For example, when cooking 1 cup of dried beans, ensure the total volume of beans and water does not pass the halfway mark. This prevents foam from rising and blocking the valve.
DON’T: Never fill the inner pot more than halfway with these foaming ingredients, regardless of the printed max line. When in doubt, consult your specific model’s manual, like this helpful guide from Instant Pot on liquid requirements. Respecting fill levels is a core part of any pressure cooking checklist energy saving plan because it prevents failed cooking cycles.
Phase 3: Harnessing Residual Heat – The Secret to Energy-Free Finish Cooking
This is where the real magic of energy efficiency happens. Your pressure cooker is incredibly well-insulated. When the cooking cycle ends and the heater turns off, the pot is still packed with intense heat and pressure. Learning to intentionally using residual heat in pressure cooking lets that stored energy finish the job for free, often improving texture in the process.
Your protocol depends on the food:
- For Meats, Stews, and Broths: After the timer beeps, allow a 10-15 minute Natural Pressure Release (NPR) before turning the valve to release any remaining steam. This gentle drop in pressure keeps tough cuts tender and prevents a spray of starchy liquid. The food continues to cook during this entire period without using a single watt or BTU.
- For Grains, Beans, and Legumes: Use a Full Natural Release. Let the pressure come down completely on its own, which can take 20-30 minutes. This prevents the foamy starches from spewing out the valve and ensures they are fully hydrated and creamy.
- Mind the “Keep Warm” Function: On electric models, this function automatically activates. It’s excellent for holding food at a safe temperature, but remember: for delicate items like eggs or some vegetables, “Keep Warm” still applies low heat and counts as continued cooking. Factor this in to avoid overcooking.
Planning for this residual heat pressure cooker phase can slightly reduce your initial programmed cook time, as the food continues to cook during the release. It’s the ultimate hack for pressure cooker cooking time reduction and lower energy bills.
Common Pressure Cooking Mistakes That Waste Energy (and How to Avoid Them)
Even with the best checklist, small oversights can undermine efficiency. Here are frequent errors that lead to longer active cook times, safety stops, or do-overs, along with simple corrections.
Mistake 1: Overfilling the Pot. We covered it, but it’s worth repeating. It’s the top cause of valve clogging and aborted cycles. Fix: Always heed the max line, and use the 1/2 full rule for beans, pasta, and grains.
Mistake 2: Using Too Little Liquid for Steam Build-Up. If there isn’t enough liquid to create and maintain steam, the pot will never reach pressure or will lose it mid-cycle. Fix: Never go below your cooker’s minimum required liquid (check the manual), usually 1 cup.
Mistake 3: Quick-Releasing Foamy Foods. Flipping the valve immediately after cooking lentils or oatmeal will cause a starchy, messy eruption. Fix: Always use a full natural release for these items.
Mistake 4: Ignoring the Preheating/Sealing Time. The time it takes for the pot to come to pressure (often 10-20 minutes) is part of the total cooking process. Not accounting for it leads to undercooked food. Fix: Factor this lead time into your meal planning; it’s when a significant portion of energy is used.
Mistake 5: Not Cutting Dense Vegetables Small Enough. A large potato cube will require a cook time long enough to turn everything else to mush. Fix: Cut dense veggies to 1-inch pieces or smaller for even cooking alongside other ingredients.
Master Your Cooker, Save Your Energy
This three-phase protocol—prep, fill, and residual heat—isn’t just a list of tips; it’s a connected system for reliable, efficient cooking. By viewing your pressure cooker as a sealed thermal battery, you shift from just using a fast appliance to actively managing energy. The discipline of correct fill levels ensures safety and prevents waste, while the intentional use of residual heat unlocks truly energy-free finishing. Together, they transform your approach.
So, the next time you pull out your cooker, don’t just wing it. Run through this pressure cooking checklist energy saving workflow. You’ll find your results are more consistent, your cleanup easier, and your energy use a little bit lower with every perfectly cooked meal.