You invested in that sleek induction cooktop and convection oven to save energy and money. But here’s the counterintuitive truth: if you’re still cooking one meal at a time, those efficient appliances are secretly costing you more. The real savings aren’t unlocked by the technology alone, but by a fundamental shift in how you use it. True kitchen efficiency is achieved through a system—a deliberate marriage of meal planning and batch cooking for energy savings. This isn’t just about prepping food; it’s about orchestrating your kitchen’s energy use. By aligning your cooking habits with how modern appliances work best, you transform each session from a sporadic energy drain into a high-output, low-waste power hour. This guide provides the actionable protocol to move from being a passive appliance owner to an active efficiency conductor, turning your kitchen into a hub of strategic, appliance-aware meal preparation that visibly impacts your utility bills.
The most effective way to save energy with modern appliances isn’t just owning them—it’s using them strategically. Combine weekly meal planning with focused batch cooking to minimize the number of times you heat up your oven or cooktop, turning each cooking session into a high-efficiency power hour. This synergy reduces the frequency of appliance use—the biggest driver of energy waste—and ensures every use is maximally productive, leading to significant savings on utility bills.
Here’s how to maximize your energy-efficient appliances: First, build a weekly meal plan that shares ingredients and cooking methods. Then, schedule one or two dedicated ‘batch sessions’ where you use your oven or induction cooktop at full capacity to prepare multiple components. This system reduces the frequency of appliance use—the biggest driver of energy waste—and ensures each use is highly productive, leading to significant savings on utility bills.
The Mindset Shift: From Appliance Owner to Efficiency Conductor
Owning an energy-efficient appliance is only half the battle. The real savings come from a fundamental shift in how you use it. Instead of seeing your induction cooktop or convection oven as a tool for reactive, single-meal cooking, you must learn to conduct it like an orchestra—orchestrating its use for maximum output with minimal input. This is the core of appliance-aware meal preparation.
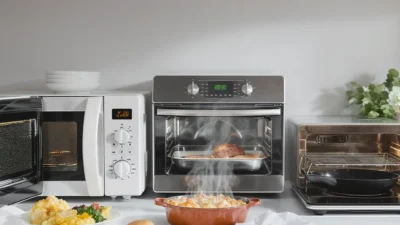
Reactive cooking heats the oven for one tray of chicken, then again hours later for a side dish. Each cycle consumes energy to heat the cavity, most of which is wasted on cooking a small load. Proactive, strategic cooking asks: “What else can I cook while this thermal energy is already paid for?” Your goal is to increase cooking density—the amount of food prepared per unit of energy consumed. This mindset turns each cooking session from a simple task into a high-leverage efficiency event, which is the entire point of combining meal planning and batch cooking for energy savings.
Step 1: The Pre-Play Kitchen Efficiency Audit
Before you plan a single meal, spend 15 minutes understanding your kitchen’s energy landscape. This audit identifies your biggest opportunities for kitchen energy conservation and ensures your system is built on facts, not assumptions.
Identify Your Energy Hotspots
Which appliances do you use most? For most homes, the oven, cooktop, and refrigerator are the top consumers. Pull out the manuals for your specific models. Look for sections on efficient operation. For example, your convection oven’s manual will explain why convection mode cooks faster and at lower temperatures than the standard bake setting, a key fact for your batch maps.
Understand Optimal Settings
Learn the most efficient settings for each task. For induction cooktops, high power is for boiling water rapidly, but a medium-low setting is often sufficient for maintaining a simmer, saving significant electricity. Note the pre-heat times for your oven; modern electric ovens often reach temperature faster than older models, meaning you can start loading them sooner. Don’t forget “phantom loads”—small appliances like coffee makers or microwaves on standby. Using a power strip for these can add up, but the big wins are in optimizing your major cooking events.
For a deeper dive on appliance ratings and what they mean, resources like the ENERGY STAR guide to cooking appliances provide excellent background.
Steps 2-4: The Planning Triad – Menu, Calendar, Batch Map
This is where abstract strategy becomes a concrete plan. These three steps work in tandem to create a seamless, efficient workflow.
Step 2: Design a Themed Weekly Menu
Don’t just list seven disparate meals. Build a menu with intentional overlap. Choose a primary protein (e.g., shredded chicken), a core grain (quinoa or rice), and a versatile veggie mix (onions, peppers, carrots) that can be repurposed. Plan meals that share cooking methods—if one night’s dinner is roasted salmon and veggies, plan another night that uses the same oven temperature for roasted sweet potatoes or sheet-pan sausages. This strategic meal planning to reduce energy use is the blueprint for efficiency.
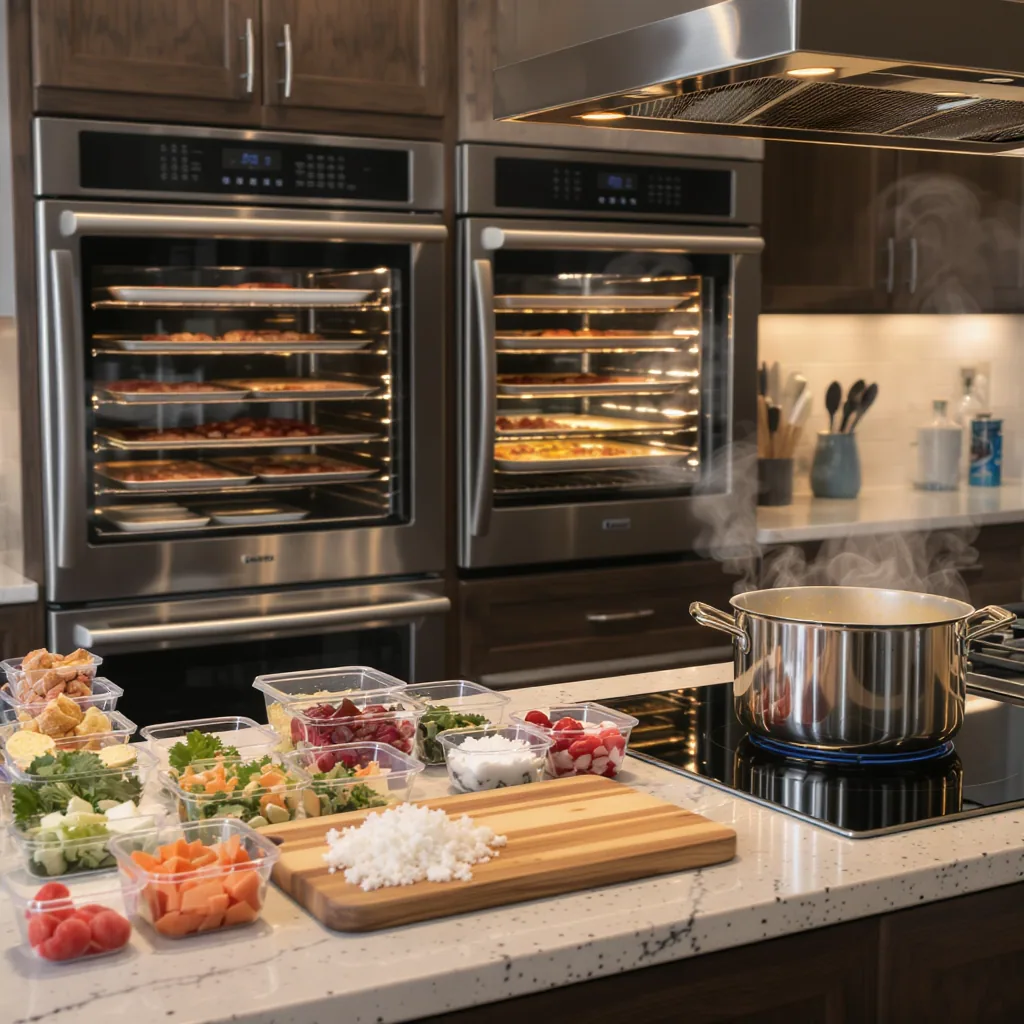
Step 3: Block Your “Power Hour”
Look at your calendar and block 2-3 hours, once or twice a week, as a non-negotiable batch cooking session. Sunday afternoon or Wednesday evening are common choices. This scheduled session is your dedicated “appliance-on” time. Treating it as an appointment prevents the inefficiency of daily, piecemeal cooking.
Step 4: Create the Batch Map
This is your tactical playbook for the session. On a notepad or digital note, sketch out the sequence. It answers: What goes in the oven first? What uses the stovetop? The key concept here is the Efficiency Stack.

For the oven, group items that cook at similar temperatures. Your map might read: “Convection Oven @ 400°F: Rack 1: Roasted Broccoli, Rack 2: Chicken Thighs, Rack 3: Roasted Root Vegetables.” This is batch cooking for appliance efficiency in its purest form—one pre-heat cycle, three prepared components.
Steps 5-7: The High-Efficiency Execution Playbook
It’s go time. With your Batch Map in hand, execution is a smooth, sequential process focused on minimizing idle appliance time.
Step 5: Mise en Place & Sequential Flow
Prep all ingredients before turning on any appliance. Then, start with the appliance that takes the longest to heat or cook. Often, this is the oven. While it pre-heats, begin chopping veggies for your stovetop items. Once the oven is loaded, move to the stovetop. Use your largest pots and pans on induction or electric burners to maximize the cooking surface being heated.
Step 6: Mastering the Efficiency Stack
Load your oven strategically. Place items that need the most browning (like chicken) in the center, with veggies on upper and lower racks. Rotate sheets halfway through if needed. Use light-colored, rimmed baking sheets for even heating. The goal is a fully utilized cavity. This high-efficiency batch cooking approach ensures you’re getting the maximum value from every kilowatt-hour.
Step 7: Leverage Residual Heat & Multi-Taskers
As you finish, look for bonus efficiency. The residual heat in an oven turned off can keep a casserole warm or dry out kale chips. A pressure cooker can cook beans from scratch in a fraction of the time (and energy) of a stovetop simmer, freeing up a burner. An air fryer can crisp up a small batch of tofu while the oven handles larger items. This layered use of appliances is the hallmark of smart cooking for lower utility bills.
Steps 8-10: Storage, Reheat, and Refine
The system isn’t complete until the food is stored and easily reheated. Efficiency extends beyond the initial cook.
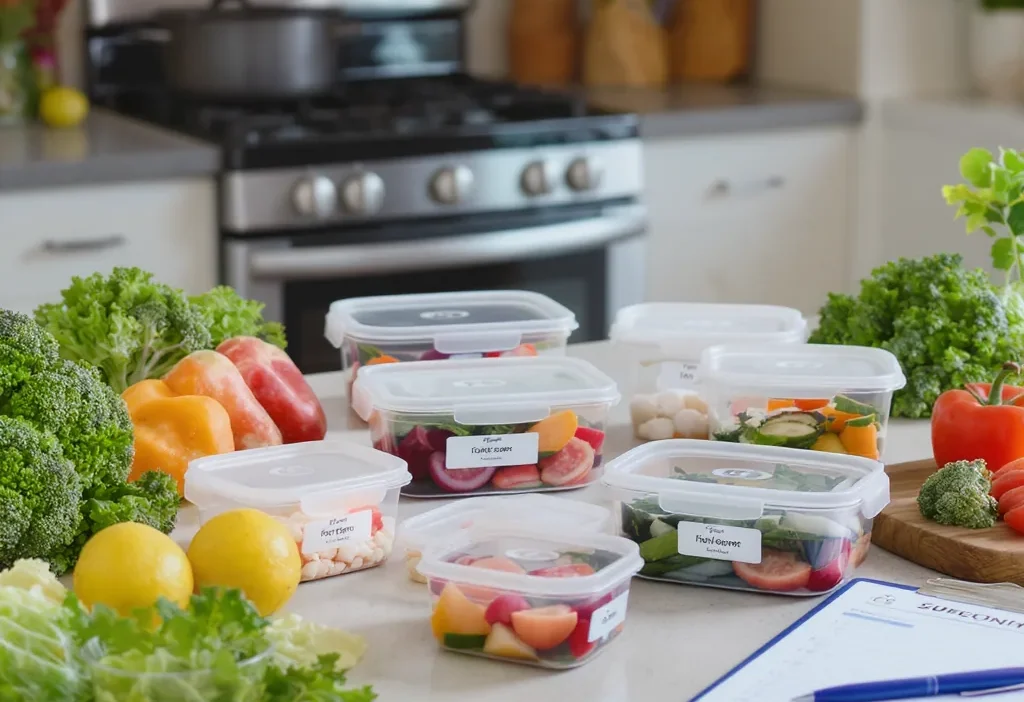
Step 8: Smart Storage for Quality & Safety
Cool cooked food quickly to save refrigerator energy and maintain safety. Portion meals into single-serving containers that are both freezer-safe and microwave/oven-safe (like glass). This prevents the need to reheat an entire large container for one serving. Label everything with contents and date.
Step 9: Energy-Efficient Reheating
This is where many savings are lost. Reheating a single portion of pasta in a full-size oven is incredibly wasteful. Instead, use the right tool for the job: the microwave for soups and stews, a toaster oven for crispy items, or a steamer basket on the stovetop for vegetables. Your energy-saving meal prep system succeeds only if the reheating habits are as efficient as the cooking.
Step 10: The Weekly Review
After your first week, take five minutes to reflect. What worked? Did you have too much of one thing? Not enough of another? Did your Batch Map sequence flow smoothly? Tweak your next plan accordingly. This iterative refinement makes the system effortless over time.
Common Pitfalls That Sabotage Your Energy Savings
Even with the best plan, easy mistakes can erase your gains. Avoid these common errors to protect your efficiency.
DON’T overcrowd sheet pans or pots. Overcrowding creates steam, which prevents browning and drastically increases cooking time, forcing the appliance to work harder and longer.
DO spread food in a single layer with space between pieces for proper air circulation and efficient cooking.
DON’T reheat a single serving in a large oven. The energy cost to heat the entire cavity for a small item is disproportionate.
DO match the reheating appliance to the portion size. Use a microwave, toaster oven, or air fryer for small meals.
DON’T ignore pre-heat times or peek constantly. Every time you open the oven door, the temperature can drop 25°F or more, requiring more energy to recover.
DO trust the pre-heat indicator and use the oven light to check on food without opening the door.
DON’T neglect appliance maintenance. A dirty oven with baked-on grime or a cooktop with clogged vents forces the appliance to work less efficiently.
DO clean appliances regularly according to the manufacturer’s instructions to ensure optimal heat transfer and airflow.
Appliance-Specific Protocols: Induction, Convection, and Beyond
Tailor your batch strategy to your specific tools. Here’s how to optimize for common energy-efficient appliances.
Induction Cooktops: The Sequential Master
Induction excels at rapid, precise heating. For cooking in bulk with efficient appliances like this, think sequentially. Use high power to rapidly boil a large pot of water for pasta or blanching veggies. Then, use the residual heat and a lower setting for a long-simmering soup or stew in a Dutch oven. You can often finish the simmer after turning the element off, as the cooktop itself doesn’t retain heat, but the pot does.
Convection Ovens: The Stacking Champion
Your convection oven is a batch cooker’s best friend. The fan forces hot air around the cavity, allowing you to use multiple racks simultaneously without the hot/cold spots of a conventional bake setting. Lower your recipe temperatures by 25°F and expect faster cook times. This is where your Efficiency Stack truly shines—fill every rack with confidence.
Pressure Cookers & Air Fryers: The Special Forces
Integrate these into your system for specific tasks. A pressure cooker (like an Instant Pot) can cook dried beans, tough cuts of meat, or hard-boiled eggs in a fraction of the time and energy of other methods. An air fryer is essentially a mini, hyper-efficient convection oven. Use it during your batch session to quickly crisp up a component (like bacon or tofu crumbles) without heating the large oven, or use it for small-batch reheating during the week.
Beyond the Kitchen: Measuring Your Impact and Scaling Up
How do you know it’s working? Start by simply tracking the runtime of your major appliances. If you used to turn the oven on 5-6 times a week for 45 minutes each and now you use it once for 90 minutes, you’ve cut oven runtime by over two-thirds. That’s a tangible win for your effort to save energy with batch cooking.
For larger families or those interested in meal sharing, the system scales beautifully. Simply increase batch sizes and invest in larger cookware and storage. The principle remains the same: maximize output per energy input. Finally, connect your action to the bigger picture. While individual savings might seem small, the cumulative impact of reduced demand on the grid and lower household emissions is meaningful. You’re not just saving money; you’re conducting your kitchen with intention.
Your First Move: The 15-Minute Audit
The path to a truly efficient kitchen starts with a simple, decisive action. This week, before you even think about your grocery list, commit to the 15-minute Kitchen Efficiency Audit from Step 1. Pull out your appliance manuals, identify your optimal settings, and note your biggest energy users. This diagnostic isn’t busywork; it’s the key that unlocks the entire system of strategic cooking.
With that insight, you can build a plan that works for your specific tools and schedule. The goal isn’t to create more work in the kitchen, but to condense your cooking into powerful, productive sessions that free up your time and reduce your bills. Stop letting your advanced appliances run on outdated habits. Start conducting them.
This protocol transforms random cooking into a scheduled, appliance-optimized system for significant energy savings. The core shift is moving from reactive, single-meal preparation to proactive, high-density cooking sessions.
The 10-Step Protocol Recap:
- Adopt the Efficiency Conductor Mindset: Focus on cooking density, not just appliance ownership.
- Conduct a Kitchen Efficiency Audit: Understand your appliances’ optimal settings and energy profile.
- Design a Themed Weekly Menu: Plan meals with overlapping ingredients and cooking methods.
- Schedule Dedicated Batch Sessions: Block 2-3 hours on your calendar for focused cooking.
- Create a Detailed Batch Map: Plan the sequence and grouping of items for each appliance.
- Execute with Mise en Place & Sequence: Prep first, then use appliances in a logical, sequential flow.
- Master the Oven Efficiency Stack: Fully load your oven with multiple items at similar temperatures.
- Store Food in Meal-Ready Portions: Use appropriate containers for quick, safe cooling and easy access.
- Reheat with the Right Tool: Match the reheating appliance (microwave, toaster oven) to the portion size.
- Review and Refine Weekly: Tweak your system based on what you learned.
By following these steps, you minimize the frequency of appliance use—the biggest driver of energy waste—and ensure every use is maximally productive.