You’ve followed the recipe to the letter, but the chicken is still raw, the cookies won’t set, and that cake is stubbornly sunken in the middle. If you’ve ever found yourself staring through the oven door, wondering why oven cooking takes too long, you’re not alone—and it’s probably not your fault. This common kitchen frustration is less about a broken appliance and more about a simple efficiency puzzle. Over time, ovens naturally drift from their factory settings, seals wear out, and everyday use can create subtle barriers to proper heating. The result is slow baking, energy waste, and a whole lot of dinner-time guesswork. But before you resign yourself to recipes that take forever or consider risky DIY hacks, know this: the safest and most effective fixes are often surprisingly straightforward checks and maintenance tasks.
Slow oven cooking is typically due to inaccurate temperature calibration, poor door seals, or blocked vents. The safest way to fix it is to verify the temperature with an oven thermometer and perform basic maintenance like cleaning and checking seals before considering professional calibration. This approach addresses common oven efficiency problems without the risks of tampering with thermostats or airflow, which can lead to safety hazards and even more slow baking energy waste.
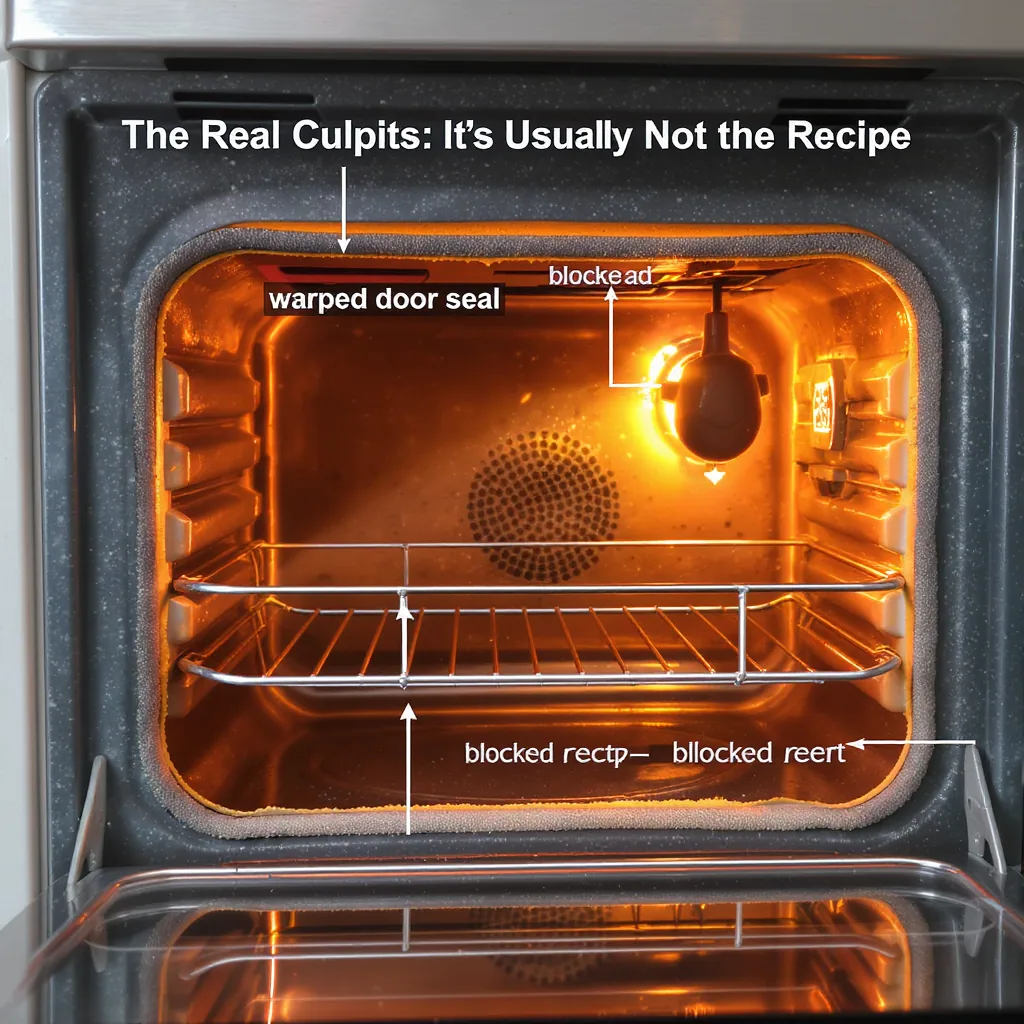
The Real Culprits: It’s Usually Not the Recipe
When your roast is still raw or your cookies won’t set, it’s easy to blame the recipe or assume all ovens are just slow. The truth is more specific—and more fixable. Most slow oven heating and inefficient oven performance boil down to three core physical issues.
Myth: “My Oven is Just Old and Slow”
Fact: Age alone isn’t the primary culprit. A well-maintained older oven can perform perfectly. The real issue is often temperature calibration drift. Over years of use, the internal thermostat can lose accuracy, meaning when you set it to 350°F, it might only reach 325°F. Your food cooks slower because it’s literally in a cooler environment. This is a leading cause of baking takes too long frustrations.
Myth: “It’s Just How My Oven Works”
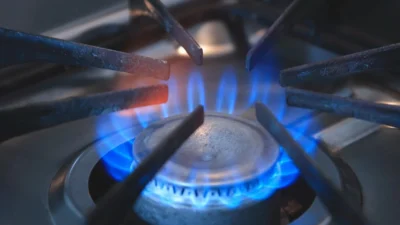
Fact: Consistent slowness points to systemic oven efficiency problems. Heat is escaping or being blocked. A worn or dirty door seal (gasket) lets hot air leak out, forcing the oven to cycle on more often to maintain temperature. Similarly, blocked vents (often hidden at the bottom or back) disrupt the crucial airflow that distributes heat evenly, creating cold spots and slow baking energy waste as the oven struggles.
Understanding these causes—calibration, seals, and airflow—is the first step toward a solution, as outlined by appliance manufacturers like Whirlpool’s guide to oven calibration.
Safety First: What NOT to Do for a Faster Oven
Frustration can lead to dangerous shortcuts. Before we cover safe fixes, it’s critical to rule out these risky actions that can cause fires, carbon monoxide poisoning, or permanent appliance damage.
Never Block Vents or Airflow
It might seem logical: cover a vent to “trap” more heat inside. This is extremely dangerous. Ovens are designed with specific airflow paths for a reason. Blocking them can cause overheating of internal components, leading to electrical shorts, melted wiring, or even a fire. It also often worsens energy wasting oven behavior, as the oven’s safety systems struggle to function.
Avoid Improper Foil Use & Thermostat Tampering
Lining the oven bottom with foil to “catch drips” can block the heat source in electric ovens or disrupt flame and airflow in gas models, leading to uneven heating and potential damage. Never cover oven racks entirely. Similarly, never attempt to manually adjust a mechanical thermostat or bypass safety controls. This requires professional tools and knowledge. What looks like a fix for an oven not reaching temperature could create a serious gas leak or fire hazard.
The safest path to efficiency never compromises these fundamental safety designs.
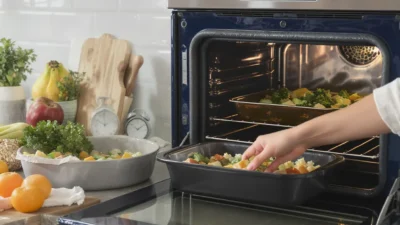
Your Safe Efficiency Audit: 5 Checks in 15 Minutes
Instead of guessing, use this quick, safe checklist to diagnose the root of your slow oven cooking issues. Grab an oven thermometer—this is your most important tool.
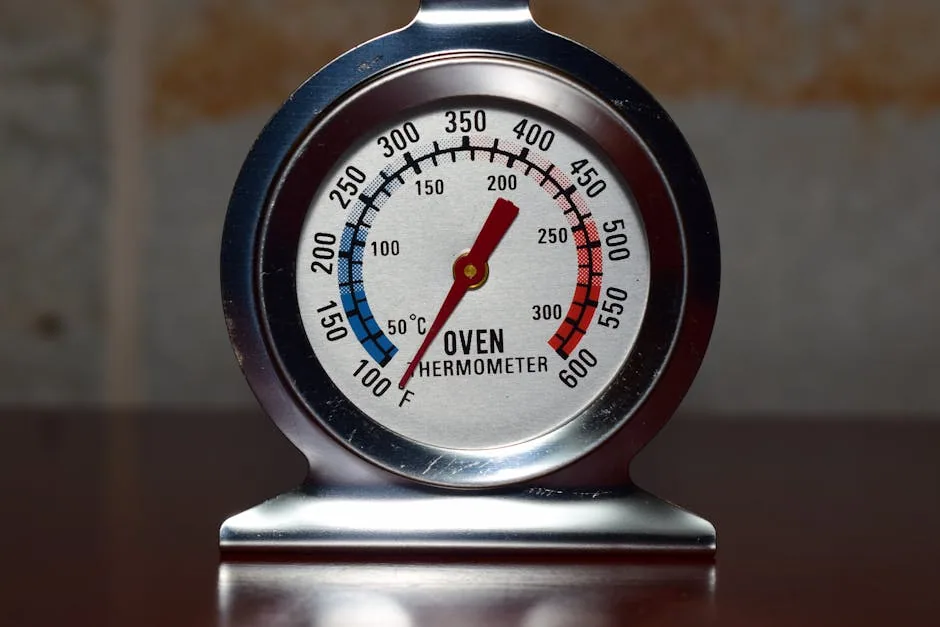
Photo by Ronaldo Guiraldelli on Pexels
- Verify the Temperature: Place a standalone oven thermometer (like a dial or digital probe) on the center rack. Preheat to 350°F and let the oven cycle for at least 20 minutes after it claims to be preheated. Check the thermometer’s reading. A difference of 25°F or more signals a calibration issue.
- Inspect & Clean the Door Seal: With the oven off and cool, visually inspect the rubber gasket around the door. Look for cracks, tears, or brittleness. Feel for any gaps when the door is closed. Wipe it down with a damp cloth; built-up grime can prevent a tight seal.
- Check for Blocked Vents: Locate the oven vents (consult your manual). They are usually at the bottom of the door frame or on the back wall. Ensure they are completely clear of baking sheets, foil, or accumulated debris.
- Ensure Correct Rack Positioning: Using the wrong rack position can dramatically increase cooking time. For most even cooking, use the center position. Avoid placing food too close to the top or bottom heating elements unless the recipe specifically calls for it.
- Time the Preheat: Note how long it takes your oven to reach a set temperature from cold. While times vary, an electric oven typically takes 10-15 minutes, and gas 5-10. Consistently taking 25+ minutes suggests a deeper performance issue.
The results of this audit will clearly point you toward either a simple fix or the need for professional help.
When to Call a Pro vs. What You Can Fix
Based on your 15-minute audit, here’s how to decide your next move. This decision tree helps you invest time and money wisely to solve your oven efficiency problems.
Call a Certified Appliance Technician For:
- Significant Temperature Calibration Errors: If your oven thermometer showed a difference of 35°F or more from the set point, the internal thermostat likely needs professional recalibration or replacement.
- Heating Element Failure (Electric): If the oven doesn’t heat at all, or one element (like the bake element) doesn’t glow red, the element is likely dead and needs replacement.
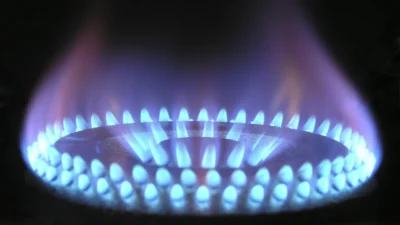
- Gas Ignition or Valve Issues: For gas ovens that won’t light, have a weak flame, or smell strongly of gas, shut off the gas supply and call a pro immediately. Do not attempt repairs.
- A Physically Damaged Door Seal: If the gasket is cracked, torn, or missing sections, a technician can ensure you get the correct replacement and install it properly for an airtight fit.
You Can Safely Handle:
- Cleaning a Dirty Seal or Vents: A thorough cleaning can often restore a proper seal and clear airflow.
- Repositioning Oven Racks: Simply moving racks to the correct position is an instant fix for uneven cooking.
- Replacing a Faulty Oven Thermometer: If your standalone thermometer is old, test it in boiling water (it should read ~212°F/100°C). If it’s off, replace it—it’s your reference tool.
- Resetting the Oven: Sometimes, turning the oven’s circuit breaker off for one minute can reset its electronic controls and resolve minor glitches.
For older ovens with major calibration issues, weigh the cost of a service call against the appliance’s age and the value of regained cooking precision and energy savings.
Regain Control of Your Kitchen Time
Slow oven cooking is a solvable puzzle, not a life sentence. By moving past myths and focusing on the real culprits—calibration, seals, and airflow—you can diagnose the issue without guesswork. Remember, the safest path to a faster, more efficient oven always prioritizes verification and maintenance over risky shortcuts.
Your decisive next step is simple: start with the oven thermometer test. This single, safe action will give you the clearest possible data on your oven’s true performance. From there, you can confidently choose to clean, adjust, or call in a professional, turning your frustration into reliable results for every meal.