You know the feeling. The chicken is perfectly cooked, resting on the counter, but the rice is still a puddle of water. The oven has been preheated for 20 minutes, yet the vegetables are still in a heap on the cutting board. Your kitchen is a symphony of chaos, not coordination, and the stress is enough to make you order takeout. This common frustration isn’t a sign of bad cooking—it’s a sign of missing strategy. The solution lies not in cooking faster, but in thinking smarter about your kitchen’s workflow. Mastering your prep timing and appliance sequencing is the secret skill that transforms frantic scrambling into a calm, efficient process. It’s about learning to conduct your oven, stovetop, and other tools like a maestro leads an orchestra, so every element of your meal arrives at the table perfectly timed and perfectly delicious.
The most efficient prep timing and appliance sequence starts by identifying your longest-cooking item (like a roast or baked potatoes) and getting it into the oven or slow cooker first. Use its passive cooking time to chop vegetables, prepare sides, and handle other active tasks, finishing with quick-cook elements like searing meat or wilting greens just before serving. Always work backward from your desired mealtime to build your schedule, and treat your appliances as a team with different roles to play.
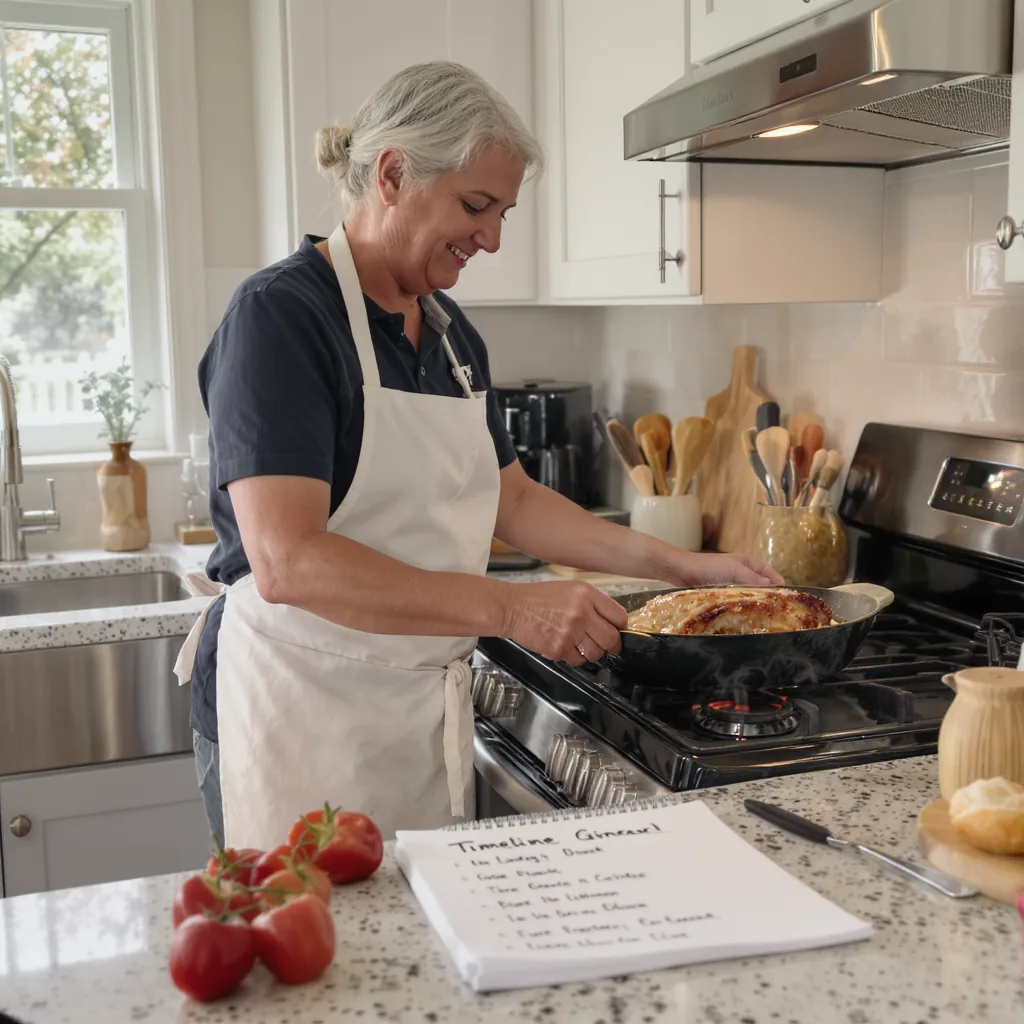
Your 7-Step Prep Timing & Sequencing Checklist

This checklist is your core framework for cooking appliance sequence planning. Think of it as your kitchen conductor’s score. Follow these steps in order for any meal.
- Define the Meal & Target Time. What are you making, and when do you want to eat? Be specific: “Sunday roast dinner at 6:30 PM,” not just “dinner.”
- Identify the Longest-Cooking Element. Scan your recipe or menu. What single item takes the most total time from prep to plate? This is your anchor—usually a roast, whole chicken, baked potatoes, or a slow-cooked stew.
- Backward Plan Your Start Times. Work backwards from your target serving time. If the roast needs 90 minutes in the oven and 15 minutes to rest, it must go in by 4:45 PM. This is the cornerstone of efficient meal prep timing.
- Sequence Appliances by Heat & Time. Start the appliance for your anchor item first (e.g., preheat oven). Next, schedule appliances with long passive cook times (slow cooker, rice cooker). Finally, slot in active-cook appliances (stovetop, broiler).
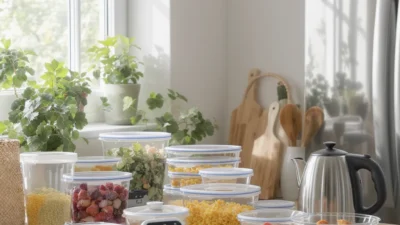
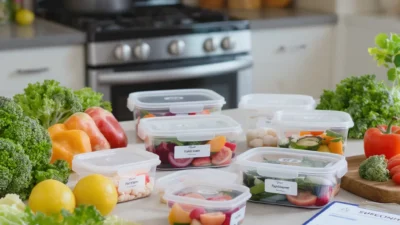
- Batch Your Prep Tasks. Group similar jobs. Do all your chopping, measuring, and marinating in one focused session, often while your anchor item is cooking passively.
- Build in Buffer & Holding Time. Add 10-15 minutes of “buffer” to your plan for unexpected delays. Also, identify which finished dishes hold well covered in a warm oven or which must be served immediately.
- Execute, Monitor, and Plate. Start your sequence, use timers, and adjust as needed. The final step is bringing all components together on the plate, hot and ready.
Appliance Personalities: Understanding Your Kitchen’s Team
To master appliance coordination, you need to know your tools’ strengths and quirks. Think of them as team members with different temperaments.
The Set-and-Forget Specialists (Slow & Passive)
These are your starters. They require long lead times but free you up once they’re running.
- The Oven: The marathon runner. Requires significant preheat time (often 15-25 minutes) but then provides steady, hands-off heat for roasting, baking, and braising. Excellent at holding food warm.
- The Slow Cooker / Instant Pot (Slow Cook function): The ultimate planner. Needs hours but is almost entirely passive. Start it first thing in the morning for dinner.
- The Rice Cooker: The reliable specialist. Once started, it manages itself and often switches to a “keep warm” mode, giving you a generous holding window.
The Active Cooks (Fast & Hands-On)
These are your finishers. They cook quickly and require your attention.
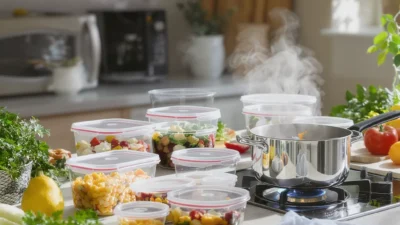
- The Stovetop Burners: The sprinters. They heat (and cool) rapidly. Perfect for searing, sautéing, boiling water, and making pan sauces. Sequence multiple burners so you’re not managing four pans at once.
- The Broiler: The intense finisher. It’s for last-minute browning or melting. Never preheat it until you are literally ready to use it.
- The Toaster Oven / Air Fryer: The efficient niche player. Great for small batches, reheating, or crisping sides while the main oven is occupied. It preheats faster than a full oven.
DO start with your slowest, most passive appliance first. DON’T fire up every appliance at the same time. Use the passive cooking window of your oven or slow cooker to complete all your active prep, a key principle for a smooth kitchen workflow timing.
Scenario in Action: Sequencing a Full Sunday Dinner
Let’s apply the checklist to a classic meal: Herb-Roasted Chicken, Crispy Roasted Potatoes, Steamed Broccoli, and Pan Gravy. Target dinnertime: 6:30 PM.
The Anchor: The whole chicken (approx. 75-90 min cook time + 15 min rest).
The Timeline (Starting at 5:00 PM)
- 5:00 PM (T-90 minutes): Preheat oven to 425°F (218°C). This accounts for a 15-minute preheat. Prep the chicken (pat dry, season) and potatoes (chop, toss with oil).
- 5:15 PM (T-75 minutes): Chicken and potatoes go into the oven. The passive cooking track has begun. Now, clean up and prep the broccoli (cut into florets). Make the gravy base (chop shallots, measure broth).
- 6:15 PM (T-15 minutes): Check chicken temp. If it’s done, remove it to rest on a cutting board. Leave potatoes in to stay crisp. Start boiling water in a pot for steaming.
- 6:20 PM (T-10 minutes): Steam broccoli. While it steams, use the chicken drippings and a burner to make the quick pan gravy.
- 6:28 PM (T-2 minutes): Final assembly. Carve the chicken, transfer potatoes to a serving dish, drain broccoli, finish gravy.
- 6:30 PM: Serve.
Notice the parallel tracks: the oven works passively for over an hour, giving you a huge window for all other tasks. The active stovetop work is compressed into the final 15 minutes.
Pro Tips for This Sequence
- Use the chicken’s rest time to finish your sides—the meat will be juicier, and you avoid a last-minute scramble.
- If the potatoes are done early, turn the oven off and leave them inside with the door cracked; they’ll stay warm.
- Always have your steaming pot ready to go before you take the chicken out.
Common Timing Traps & How to Avoid Them
Even with a plan, these pitfalls can derail your meal prep schedule. Here’s how to sidestep them.
The “Everything at Once” Fallacy
Trap: Starting your 20-minute pan sauce at the same time you put your 60-minute casserole in the oven. One will be cold or overcooked by the time the other is ready.
Solution: Backward planning is your antidote. The sauce should start 15 minutes before the casserole is due to come out.
The Forgotten Preheat
Trap: Your ingredients are prepped, but the oven is still cold, adding 20 unexpected minutes.
Solution: Make “preheat appliance” the very first actionable step on your mental or physical checklist.
Ignoring Carryover Cooking
Trap: Pulling a roast or thick steak off the heat at the exact target temperature, only to have it overcook as it rests.
Solution: Account for this. Remove dense proteins 5-10°F (3-5°C) below your desired final temp. The residual heat will bring it to perfection. The science of carryover cooking is well-documented and a game-changer for timing.
No Plan for Holding Food Warm
Trap: Your green beans are done, but the chicken needs 10 more minutes. The beans get cold and soggy.
Solution: Know which dishes tolerate waiting. Roasted veggies can go back in a warm oven; steamed greens cannot. For delicate items, have a strategy—like a quick reheat in the pan or serving them last-minute.
Adapting Your Sequence for Different Meal Types
The core principles of this prep timing and appliance sequencing guide are universal, but the application changes. Here’s how to adapt.
For a Speedy Weeknight Stir-Fry
DO: Practice mise en place—have every ingredient chopped, sauced measured, and rice cooked before you turn on the wok burner. The actual cooking takes just minutes.
DON’T: Start chopping your garlic after the oil is already smoking in the pan.
For a Slow-Cooked Stew or Soup
DO: Start your slow cooker or soup pot first. Use its long, simmering window to prep a side salad, make bread, or set the table.
DON’T: Forget that quick-cooking ingredients (like peas or spinach) should be added in the last 10-15 minutes.
For Big-Batch Weekend Meal Prep
DO: Sequence by oven temperature. Roast all your high-temp veggies (like broccoli at 425°F) first, then lower the temp for sweet potatoes or a frittata. Cook grains in a pot or rice cooker concurrently.
DON’T: Try to cook every component on a single, overcrowded baking sheet. Staggering batches is faster than undercooking.
For Dinner Party Entertaining
DO: Choose a menu with a long-resting main (like a braised dish) and make-ahead sides. Your final sequence then involves gentle reheating and quick finishing touches, not high-stress cooking in front of guests.
DON’T: Attempt a menu where three different components require your full attention at the exact moment guests arrive.
Mastering the Flow, Not Just the Recipe
Ultimately, this guide isn’t about rigid rules—it’s about developing a feel for the kitchen as a dynamic system. The goal of appliance use sequence and cooking order strategy isn’t perfection; it’s a dramatic reduction in stress and a significant increase in the joy of cooking. You’ll waste less energy, create less mess, and gain the confidence to get multiple dishes to the table hot and delicious.
Start small. Apply the seven-step checklist to your very next dinner. You might be five minutes off, or you might find a perfect rhythm on the first try. Either way, you’re learning the most valuable kitchen skill of all: thinking ahead. With practice, this strategic timing will become second nature, turning chaotic cooking into a calm, orchestrated performance.
To transform your cooking from frantic to fluid, remember the core philosophy: work backwards, leverage passive time, and coordinate your appliances as a team. Begin every meal by identifying the longest-cooking item and building your schedule around it. Use the oven’s or slow cooker’s hands-off cooking window to complete all your chopping and prep. Finally, execute your quick-cook elements just before serving. This sequential cooking approach is the key to efficient kitchen timing. Grab the checklist, apply it to your next meal, and experience the difference a plan makes.