You’ve probably heard the advice: to cook efficiently, just fire up every appliance you own at once. It sounds logical—more machines, more productivity, right? In reality, that approach often leads to a chaotic kitchen, cold dishes, and a frazzled cook. The true best way to combine appliance tasks while cooking isn’t about frantic multitasking; it’s about strategic batching. This method, which we call appliance task batching, treats your kitchen like a calm production line. Instead of jumping between recipes, you group all tasks by the appliance they use. This simple shift in mindset can dramatically cut your active cooking time and mental load, turning a hectic session into a smooth, efficient workflow.
The best way to combine appliance tasks while cooking is to batch tasks by appliance, not by recipe. Start by planning a menu where multiple dishes use the same appliance at the same temperature. Then, sequence your work: prep all ingredients first, load the longest-cooking appliance (like the oven), then move to the next (stovetop, air fryer), cleaning as you go. This workflow minimizes idle time and maximizes output in one session.
Myth vs. Fact: Multitasking vs. Strategic Batching
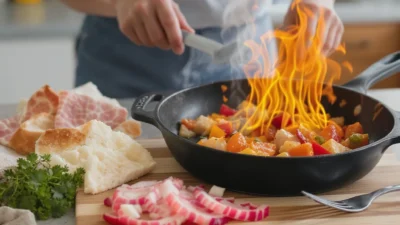
Many of us believe the myth that kitchen efficiency means turning on every appliance at once in a frenzy of activity. This approach, while energetic, usually leads to chaos: burning food on the stove while you’re distracted by the oven timer, creating a mountain of dishes, and leaving you more exhausted than when you started. It’s the opposite of cooking multiple dishes efficiently.
Photo by Jep Gambardella on Pexels
The fact is, the best way to combine appliance tasks while cooking is through strategic batching. Think of it as appliance batching: you group all tasks for one machine, complete them in a logical sequence, and then move to the next. Instead of jumping between recipes, you work by appliance type and temperature. This method transforms your kitchen into a calm production line, drastically cutting active cooking time and, just as importantly, reducing the mental load and decision fatigue that comes with true multitasking.
The Pre-Session Protocol: Plan Your Menu Like a Pro
Success happens before you preheat a single appliance. The core of appliance batching kitchen efficiency is designing a menu where dishes are friends, not rivals, sharing space and settings.
Seek Temperature Harmony
Your oven is the prime candidate for batching. Plan two or three dishes that thrive at the same temperature. For example, roasted chicken breasts and a tray of broccoli florets both do beautifully at 400°F (200°C). While they cook together for 25 minutes, your rice cooker or Instant Pot can handle a grain or bean side dish completely unattended. This is the foundation of how to cook multiple dishes efficiently.
Map Your Appliance Sequence
Once your menu is set, sketch a simple “appliance map.” Identify which tasks are passive (oven, slow cooker, pressure cooker), which are active but hands-off (simmering on the stovetop), and which need your full attention (sautéing, quick-cooking veggies). The goal is to load your longest-running, passive appliances first, so they’re working while you handle quicker tasks. This cooking session workflow ensures no appliance—and no minute—is idle.
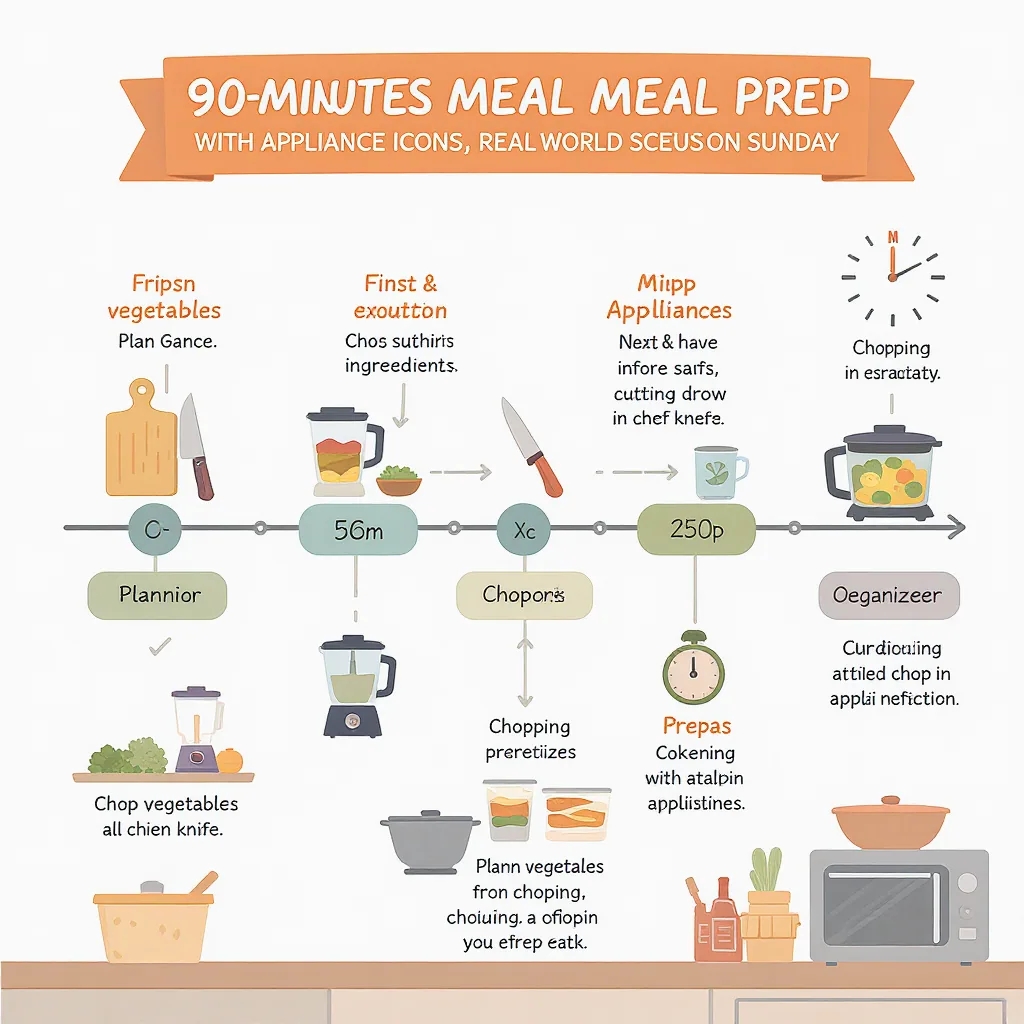
A Real-World Scenario: Sunday Meal Prep in 90 Minutes
Let’s make this concrete. Imagine you want to prepare lunches and dinner components for the week. Here’s how appliance coordination plays out in a real 90-minute session.
Minutes 0-15: The Universal Prep
Don’t touch any appliances yet. Wash and chop all vegetables (bell peppers, onions, broccoli). Portion your proteins (chicken thighs, ground turkey). Measure spices and sauces. This “mise en place” for your entire session is non-negotiable and prevents frantic searching later.
Minutes 15-30: Load the Anchor Appliances
Now, start your longest-cooking items. Preheat the oven to 400°F. Toss chicken thighs and broccoli with oil and seasoning on separate sheet pans and load them in the oven together (they’ll roast for ~30 min). Start your Instant Pot with quinoa and water. These simultaneous cooking tasks now run on autopilot.
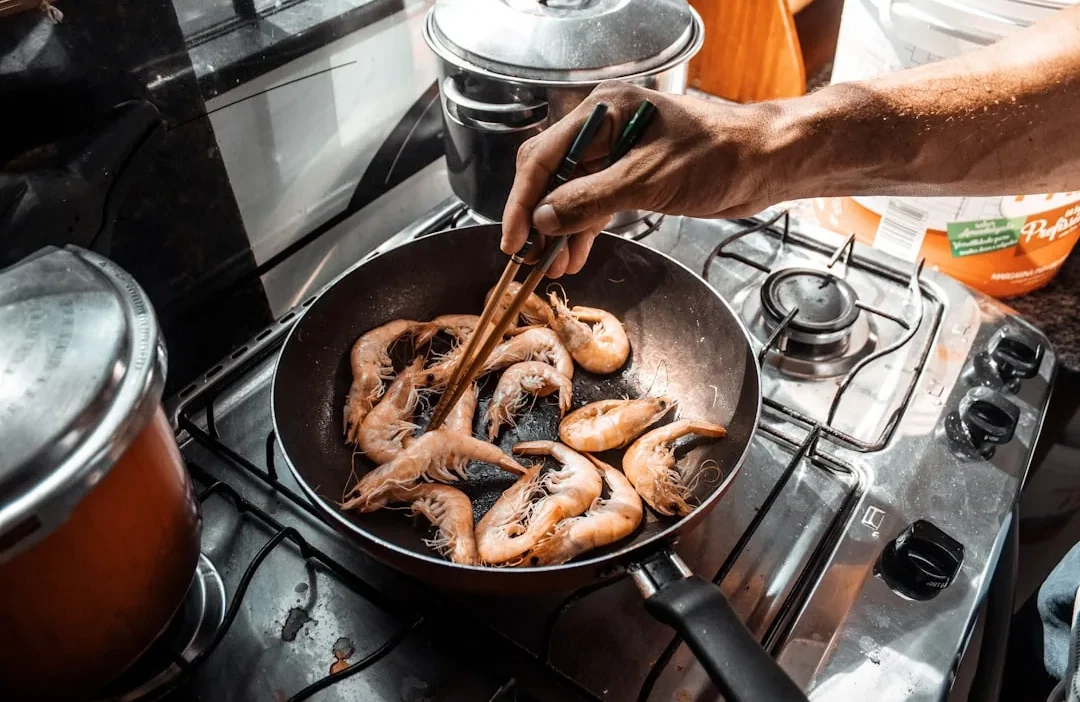
Minutes 30-60: Manage the Stovetop
With the oven and Instant Pot working, turn to the stovetop. In a large skillet, brown the ground turkey for a pasta sauce or taco filling. In a pot, start a simmering soup or chili. The active time here is focused, and you can clean the prep bowls and cutting boards as you go.
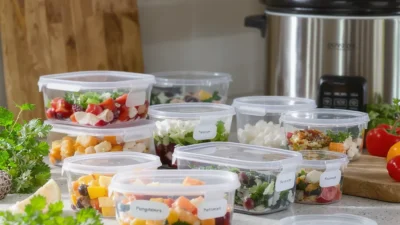
Minutes 60-90: Finishing Touches & Final Clean-up
Pull the roasted items from the oven. Quick-cook some greens in your now-empty skillet. Fluff the quinoa. Portion everything into containers. Because you cleaned incrementally, only your final cooking pans remain. This appliance task stacking results in multiple prepared meals with minimal post-cooking chaos.
Advanced Moves & Pro Tips for Appliance Harmony
Once you’ve mastered the basic flow, these pro tips will fine-tune your system for even smoother efficient appliance use.
Harness Residual Heat
Your appliances are more flexible than you think. Finished roasting at 400°F? Turn the oven off and leave the door slightly ajar to gently wilt greens or keep a dish warm without further cooking. A turned-off but hot stovetop burner can melt butter or keep a sauce warm.
Stagger Start Times for Perfect Finishes
If two oven dishes have different cook times, don’t hesitate to stagger them. Put the sweet potato wedges in first, and add the salmon fillets 15 minutes later. They’ll finish together, both perfectly done. This is a key kitchen time management skill.
Integrate Countertop Champions
Your air fryer or toaster oven is a batching superstar. Use it for small-batch tasks that don’t warrant heating the full oven, like toasting nuts, roasting a single serving of veggies, or reheating a portion. This keeps heat out of the kitchen and frees up your main oven for larger projects.
Finally, a safety note: Be mindful of your kitchen’s electrical capacity. Avoid running too many high-wattage countertop appliances (like an air fryer, microwave, and electric kettle) on the same circuit simultaneously to prevent tripping a breaker.
Shift Your Mindset, Reclaim Your Time
The real transformation isn’t just about a faster dinner—it’s a shift from recipe-focused chaos to appliance-focused flow. By batching tasks, you work with your kitchen’s logic, not against it. You replace the stress of constant context-switching with the calm of a predictable system.
The next step is simple and immediate. On your very next cooking session, try planning just two dishes that can share your oven at the same temperature. Roast a protein and a vegetable together. Notice how much calmer and more productive you feel when you’re not juggling every appliance at once. That’s the power of strategic batching in action.